> For the complete documentation index, see [llms.txt](https://dataflint.gitbook.io/dataflint-for-spark/llms.txt). Markdown versions of documentation pages are available by appending `.md` to page URLs; this page is available as [Markdown](https://dataflint.gitbook.io/dataflint-for-spark/dataflint-copilot/copilot-in-claude-desktop.md).
# Copilot in Claude Desktop
Learn how to install the DataFlint MCP server in Claude Desktop to enable AI-powered Spark optimization directly in your conversations with Claude
### Summary
This guide shows you how to install and configure the DataFlint MCP (Model Context Protocol) server in Claude Desktop.
The entire process should take just a few minutes.
The steps are:
1. Prerequisites - Ensure you have the required tools installed
2. Configure Claude Desktop
3. Authenticate with your organization
4. Verify the installation
### Prerequisites
Before installing the DataFlint MCP server, ensure you have:
* **Node.js** (version 18 or higher) installed on your system
* **npm** or **npx** available in your command line
* **Claude Desktop** application installed
* Your **organization's customer domain** - Only for BYOC (bring your own cloud) customers. Contact your DataFlint admin if you don't know this.
### Installation
#### Step 1: Locate the Claude Desktop configuration file
The configuration file location depends on your operating system:
* **MacOS**: `~/Library/Application Support/Claude/claude_desktop_config.json`
* **Windows**: `%APPDATA%\Claude\claude_desktop_config.json`
* **Linux**: `~/.config/Claude/claude_desktop_config.json`\
\
\
\
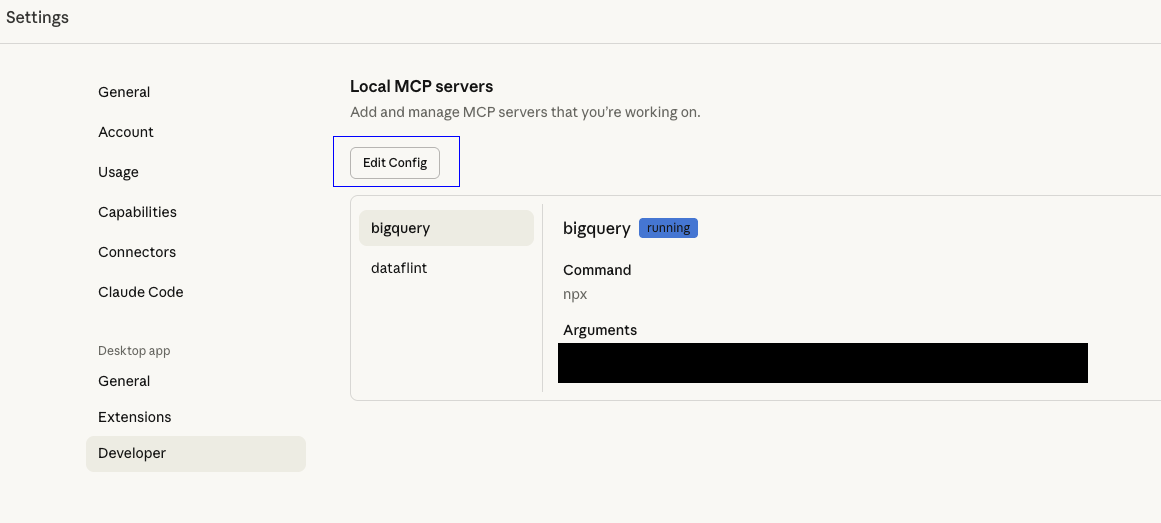
You can also find the path in this way- in Claude desktop go to setting -> Developer -> clicking on 'Edit Config' button will open the path of the json in your computer
#### Step 2: Edit the configuration file
Open the `claude_desktop_config.json` file in your preferred text editor and add the DataFlint MCP server configuration:
**For SaaS customers:**
**For BYOC (bring your own cloud) customers:**
```json
{
"mcpServers": {
"dataflint": {
"command": "npx",
"args": [
"args": [
"-y",
"@dataflint/mcp-server@latest",
"--customer-domain",
"YOUR_COMPANY_NAME"
]
}
}
}
```
#### Step 3: Restart Claude Desktop
Close and reopen Claude Desktop for the changes to take effect.
**First-time authentication**
When you first use DataFlint MCP in Claude:
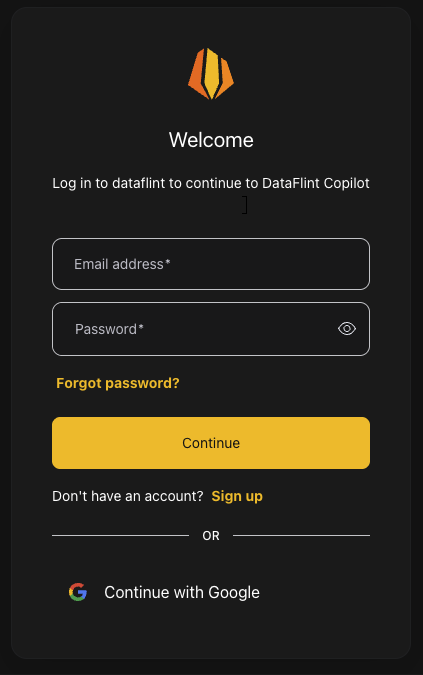
1. Your browser will automatically open to your organization's authentication page
2. Log in with your organization credentials
3. Subsequent uses will not require browser authentication
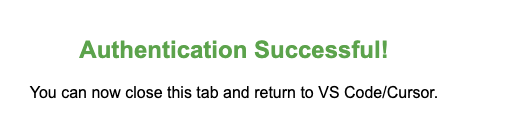
After successful authentication, you can close the browser and return to Claude Desktop.
### Verify the installation
#### Check MCP connection status
1. Open Claude Desktop
2. Start a new conversation
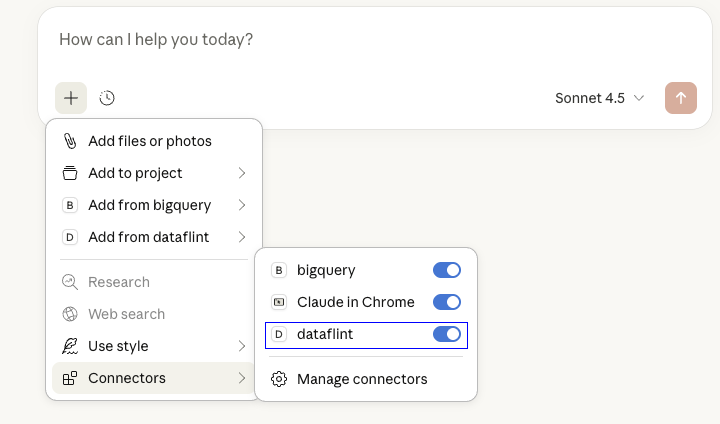
3. Look for the 🔌 MCP icon in the bottom right corner
#### Test the connection
Try asking Claude:
```
"Find my top 5 application to fix by using DataFlint MCP"
```